Using Your Own Account
If you’re NOT running these labs as part of an AWS led event in Workshop Studio, you will need to prepare the environment before you can complete these labs. Please note that these resources will incur a cost, so remember to clean up these resources when you have finished.
Step 1: Configure your environment
To configure your account, complete the following steps.
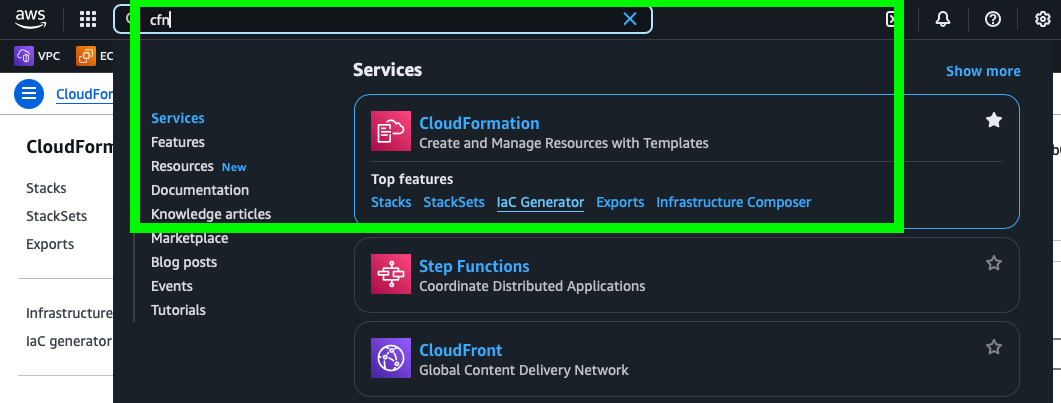
- Click on Launch Stack below to launch CloudFormation with some pre-configured values in the us-east-1 region. Please remember the change the region if you would like to run this workshop in a different region.
The stack sets up the following components:
-
EKS Cluster:
- Provisions a new EKS cluster named opea-eks-cluster.
- Deploys a node within the cluster using an M7i.24xlarge instance.
-
CloudFormation Templates: Creates templates for the following modules:
- Module 1: ChatQnA Default
- Module 2: ChatQnA with Guardrails
- Module 3: ChatQnA with OpenSearch (open source) as the vector database
- Module 4: ChatQnA with Bedrock as the LLM
-
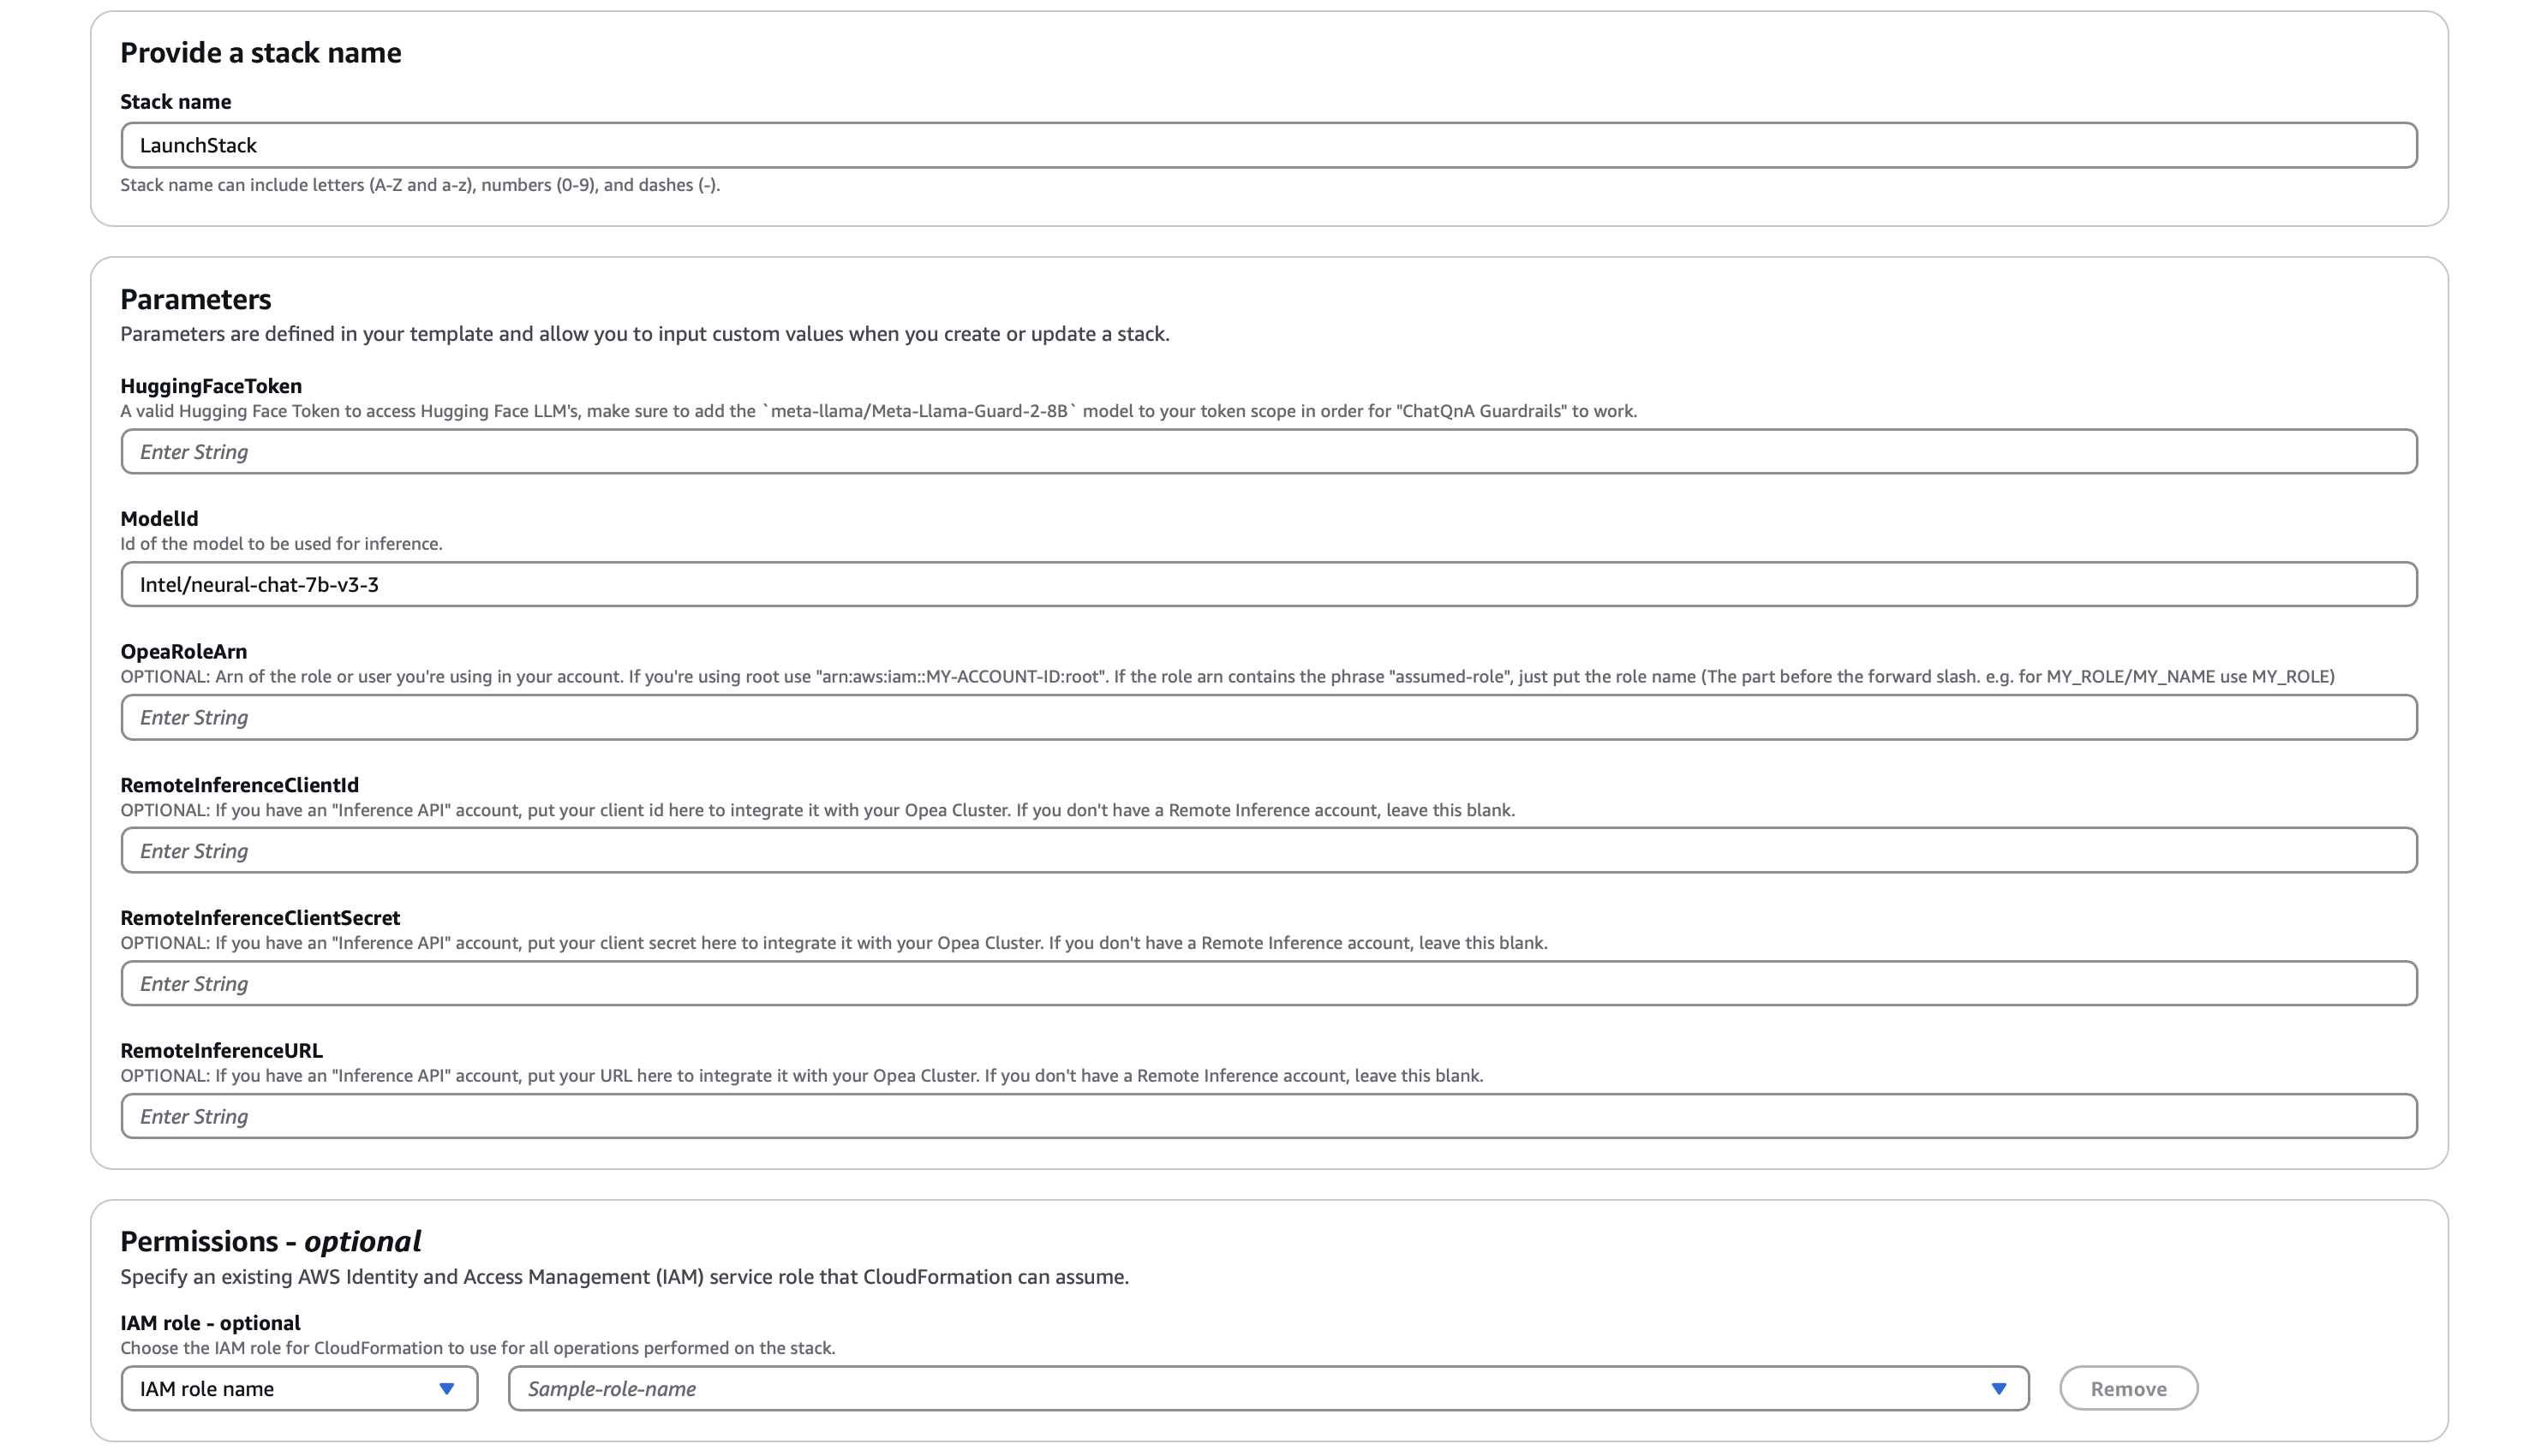
On the Quick create stack page, note that the stack name is already set. Before running the stack, you’ll need to do the following:
Under Parameters:
For Modules 1,2 and 3
-
HuggingFaceToken: The stack will locally download models from Hugging Face, you need to provide your key to download them. If you plan on using the
Guardrailsfeature, make sure the token is scoped with themeta-llama/Meta-Llama-Guard-2-8Bmodel. -
ModelID : In most cases OPEA uses Text Generation Inference toolkit. You can use any model supported from this list. Use Hugging Face model id.
-
OpeaRoleArn : Fill in the ARN or name of the role for the principal that you’re using. If you’re not sure what to use, look at the user info displayed in the upper right corner of the screen, which may or may not contain a forward slash.
If the name does not contain a forward-slash, copy the whole name. If it contains a forward slash, just take the part before the slash. For example, if it says “USER” you would input “USER”, but if it says “ADMIN-ROLE/USER”, you would just input “ADMIN-ROLE”.
Or run the following command to get your arn
-
aws sts get-caller-identity --query 'Arn' --output text | awk -F: '{print $NF}' | (read id; if [[ $id == *"user"* ]]; then aws sts get-caller-identity --query 'Arn' --output text; else role=$(echo $id | cut -d'/' -f2); aws iam get-role --role-name $role --query 'Role.Arn' --output text; fi)
**ONLY FOR MODULE 4: In case you will be deploying Remote Inference**

- *RemoteInferenceClientId* ,*RemoteInferenceClientSecret* & *RemoteInferenceURL*: Enter your provided credentials and URL to enable Remote Inference LLM on Denver Datanetworks, leveraging Intel Gaudi 2 for optimized performance.
Mark the checkbox next to I acknowledge that AWS CloudFormation might create IAM resources
Once you’ve performed those activities, click the button that says Create Stack
The stack will create an AWS Code Build Project that will pull in the opea-demo-builder open source library. This library uses the AWS Cloud Development Kit (CDK) to generate the custom CloudFormation templates to provision your account for the workshop.
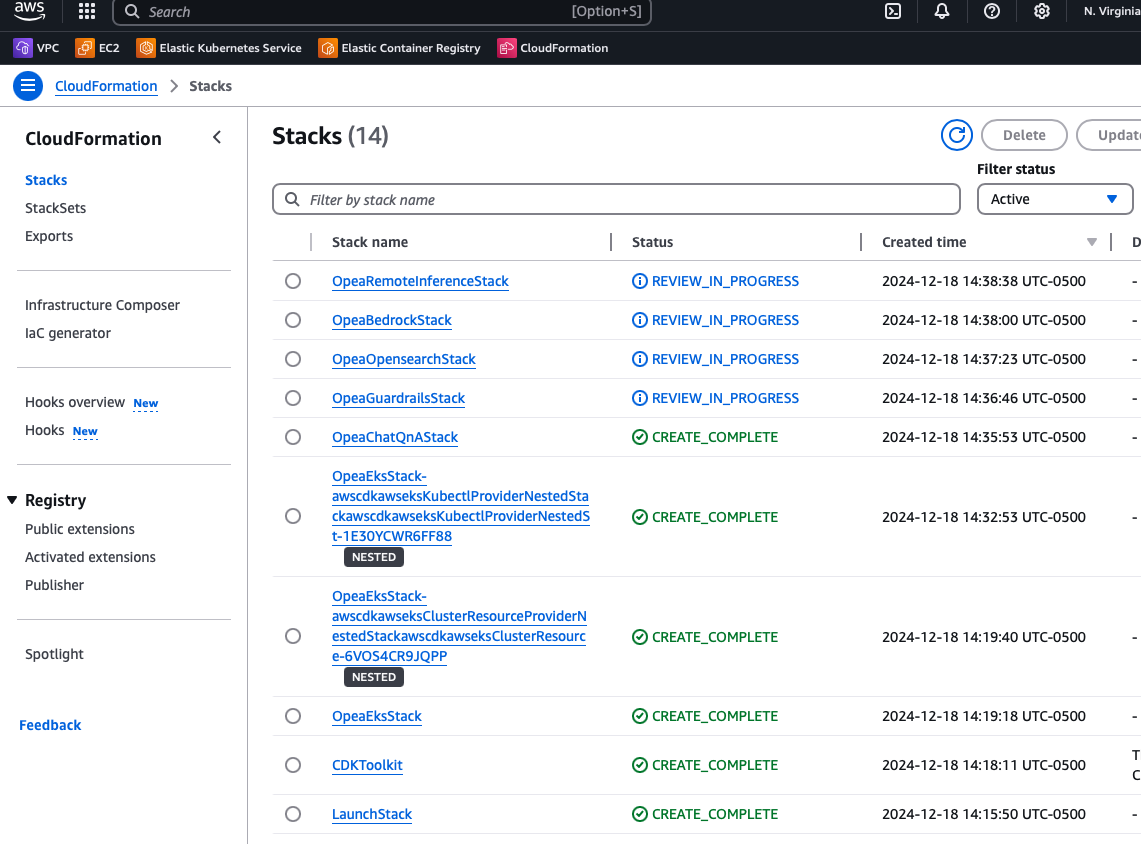
- Wait for the resources to be deployed. Check the Cloud Formation console. IT TAKES ~25 MINUTES
The following stacks must be in the CREATE_COMPLETE state, indicating that the EKS cluster and the default ChatQnA application have been successfully deployed. There will be stacks in the REVIEW_IN_PROGRESS state, which will actually be deployed over the EKS cluster for each module.
Step 2: Configure your access to the EKS cluster:
Once the stacks are configured you need to configure your access to the Kubernetes cluster (EKS)
You will interact with your EKS cluster using kubectl, you need to configure your config file to recognize the cluster. This is done by updating the kubeconfig file, which stores details about cluster authentication and access.
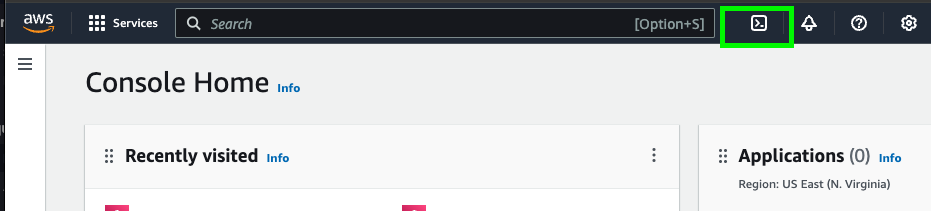
- In your console click on the Cloud Shell icon. You can also use your own AWS CLI, in this case you need to be sure to install the AWS CLI Client and Kubectl in your personal environment.
- Update Your kubeconfig Run the following command to update your kubeconfig with your cluster information (update your region if you selected a different region):
aws eks update-kubeconfig --name ${clusterName} --region us-east-1
You should receive an output confirming your conf file was updated:
Updated context arn:aws:eks:us-east-2:<<Account_ID>>:cluster/opea-eks-cluster in /home/cloudshell-user/.kube/config
You are now ready to interact with the Kubernetes cluster using kubectl
Step 3: Verify you can access your EKS cluster:
After updating your kubeconfig, check if you can successfully connect to the cluster. If you have problems accessing the pods on the console or in CloudShell:
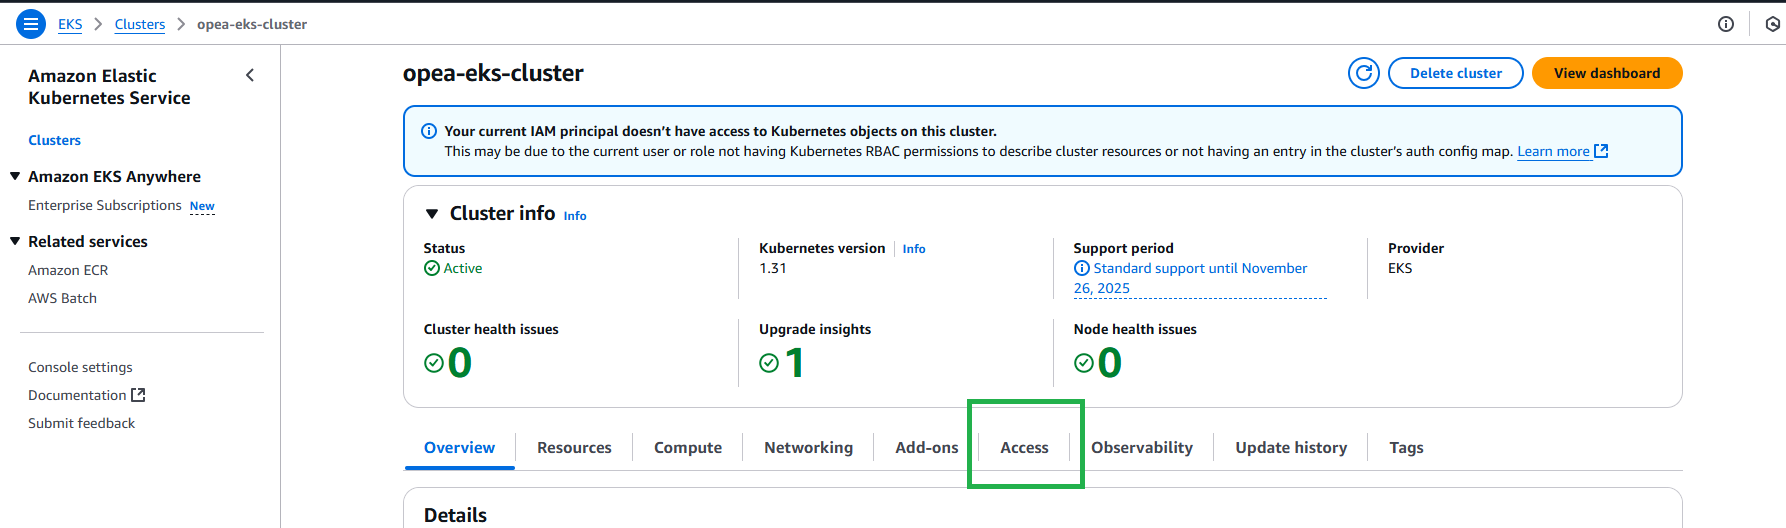
- Go to your EKS console
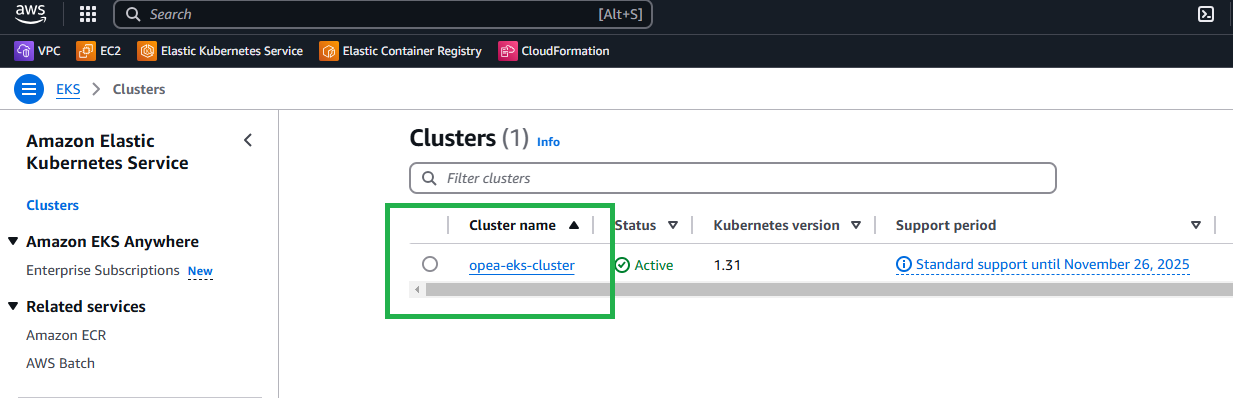
Check your Access Entries. You should see an access entry there with an IAM principal ARN that you have access to:
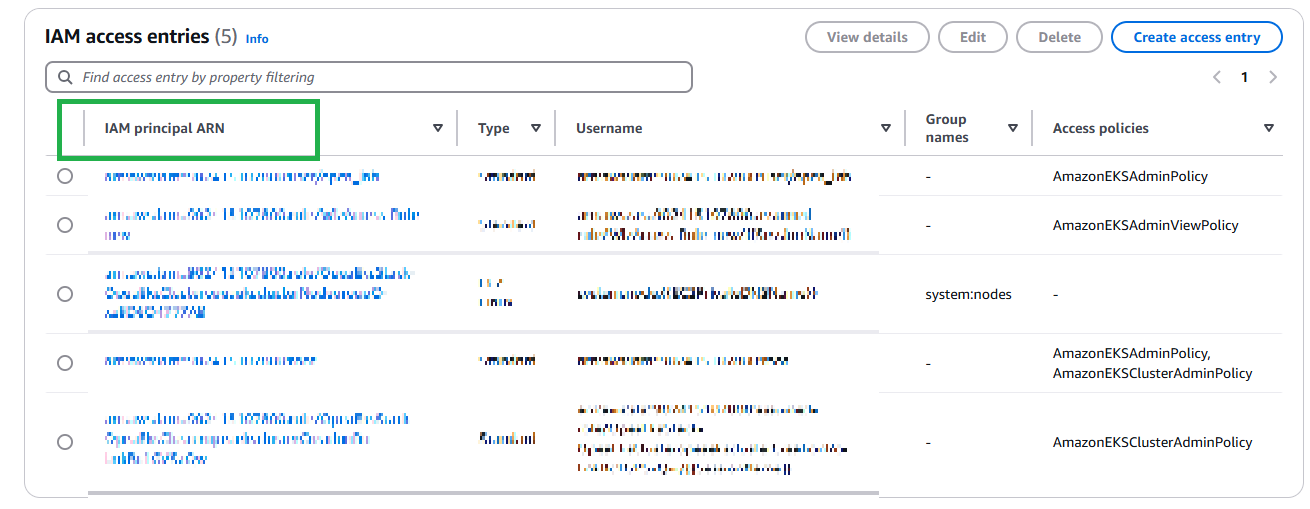
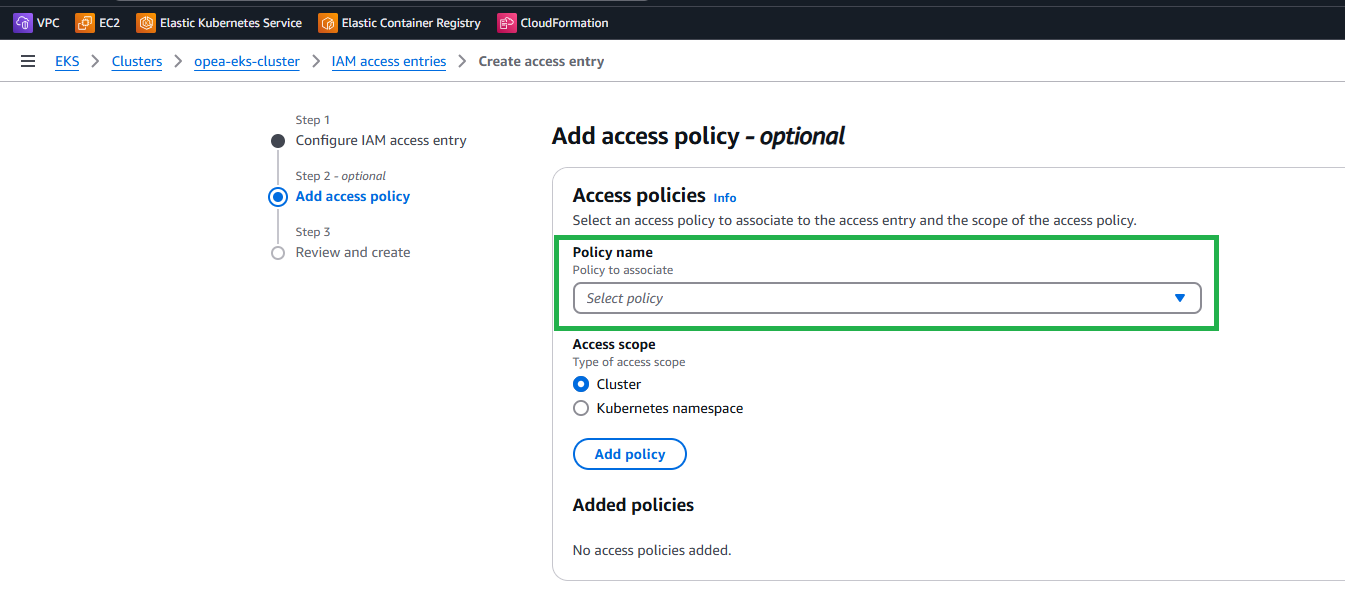
IF YOU DON’T SEE YOUR ARN LISTED, ADD AN ACCESS ENTRY TO THE CLUSTER 2. Click on Create access entry and add your current principal user or role ARN under IAM principal ARN
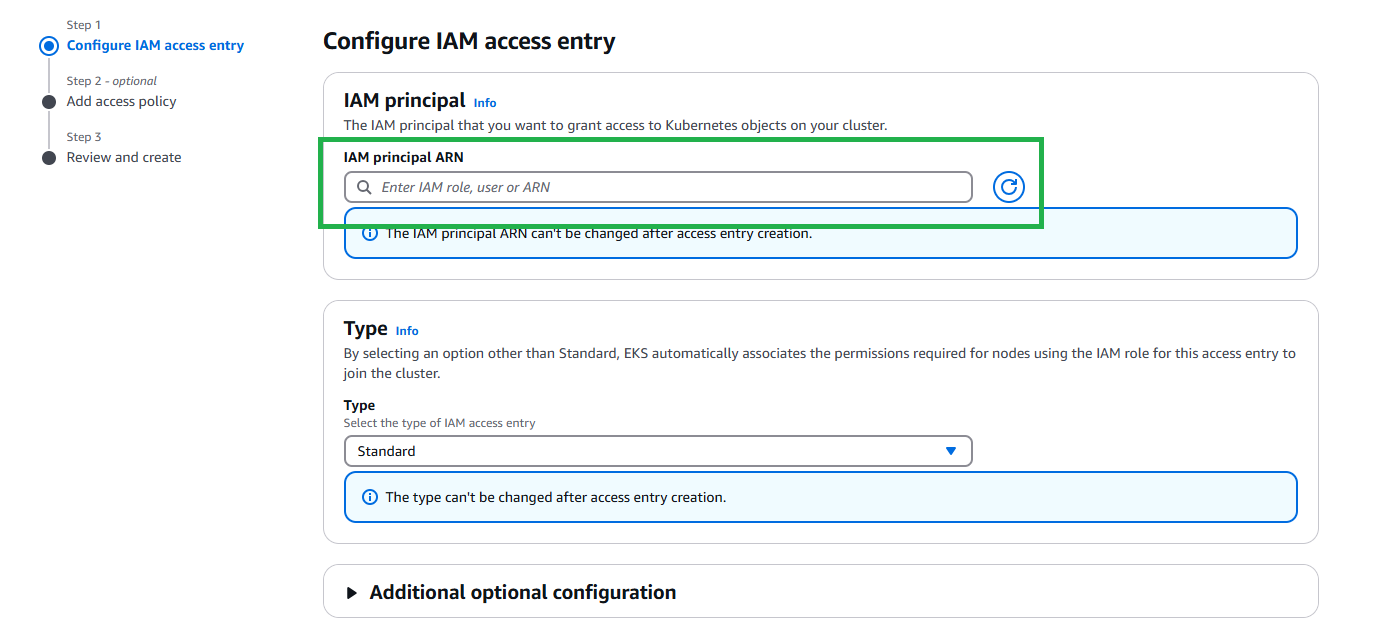
- Add policies to your access entry: AmazonEKSAdminPolicy, AmazonEKSClusterAdminPolicy
- Test it to see if you can see the nodes associated with the cluster:
kubectl get nodes
If the command is successful, you should see an output similar to this: NOTE : Wait until you see the node to continue. If you don’t see it, it means that the node is stil being provisioned.
NAME                            STATUS   ROLES    AGE    VERSION
ip-XXX-XXX-XXX-XXX.ec2.internal   Ready    <none>   146m   v1.27.16-eks-XXXXX
You are now ready to explore the Module of your preference.